
I was showing a student how to use free stock photos to illustrate an online project, and since I was doing the work anyway, I thought I’d put it here on my blog to share with anyone who was interested.
Most of the images on my blog are photos I’ve taken myself, but sometimes I just want a photo that illustrates a post. Like this one, “Paradise Breached,” a short-story writing exercise where I wanted a photo of a creek in the woods. I didn’t have a photo of my own, so I went to Wikimedia Commons (link HERE) to search the free images available. I also could have searched Creative Commons (link HERE) for an image, as that’s another good go-to spot for free images.
The photo I found for my short story was public domain, so I gave the proper attribution in my caption but didn’t have to mention the license I was using it under. Other times, though, a photo will name specific licensing terms under which you are allowed to use the image. Usually you will then need to identify the photographer and/or state which license is attached to the image.
When I first started trying to do this, it was confusing and time consuming to figure out. I’d get the relevant information from the photo source and then sort of follow the format I’d seen other people using to cite the license information on their blogs. It was kind of like the experience of learning how to cite sources using MLA or APA for the first time. It wasn’t completely clear what details needed to be included or how they should be formatted in my attribution.
Then at some point I noticed that images had started making it easy for people to give proper attribution by putting the appropriate info into a box with instructions for how to copy and paste it into your blog or website. This is what I was showing my student how to do the other day and then decided I’d share here just in case you haven’t discovered it yet.
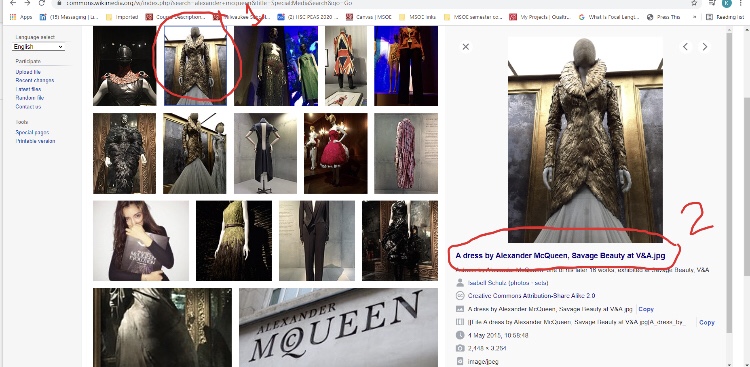
So, step one would be to go to Creative Commons or Wikimedia Commons or even Wikipedia or other online photo source. I went to Wikimedia Commons to get a photo for my student.
First you click on the photo you want, then on the file name. (Excuse my handwriting; done with poor finger control on my laptop screen. Plus, these photos are kind of blurry. I had trouble uploading my original screenshots to WordPress, so I used my phone to take screenshots of my screenshots and lost some clarity in the process.)
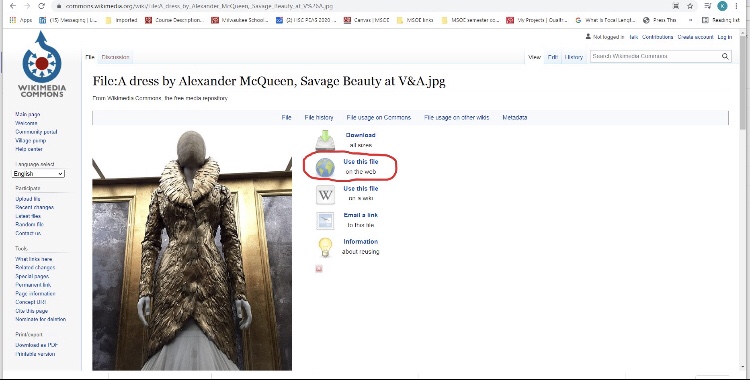
Then click on “use this file on the web.”
Then copy the “Attribution” text and paste it into the caption for your photo on your blog.

And that is basically it.
With Wikimedia Commons and Wikipedia, I also like to click on the “More details” button below the image I want to use.
 Doing so reveals even more specific details about the image and rules for sharing set by the person who originally posted the image. For example, below you see a couple of handy text boxes containing the “author” name, a link to her Flickr page, and the conditions under which you can share the image.
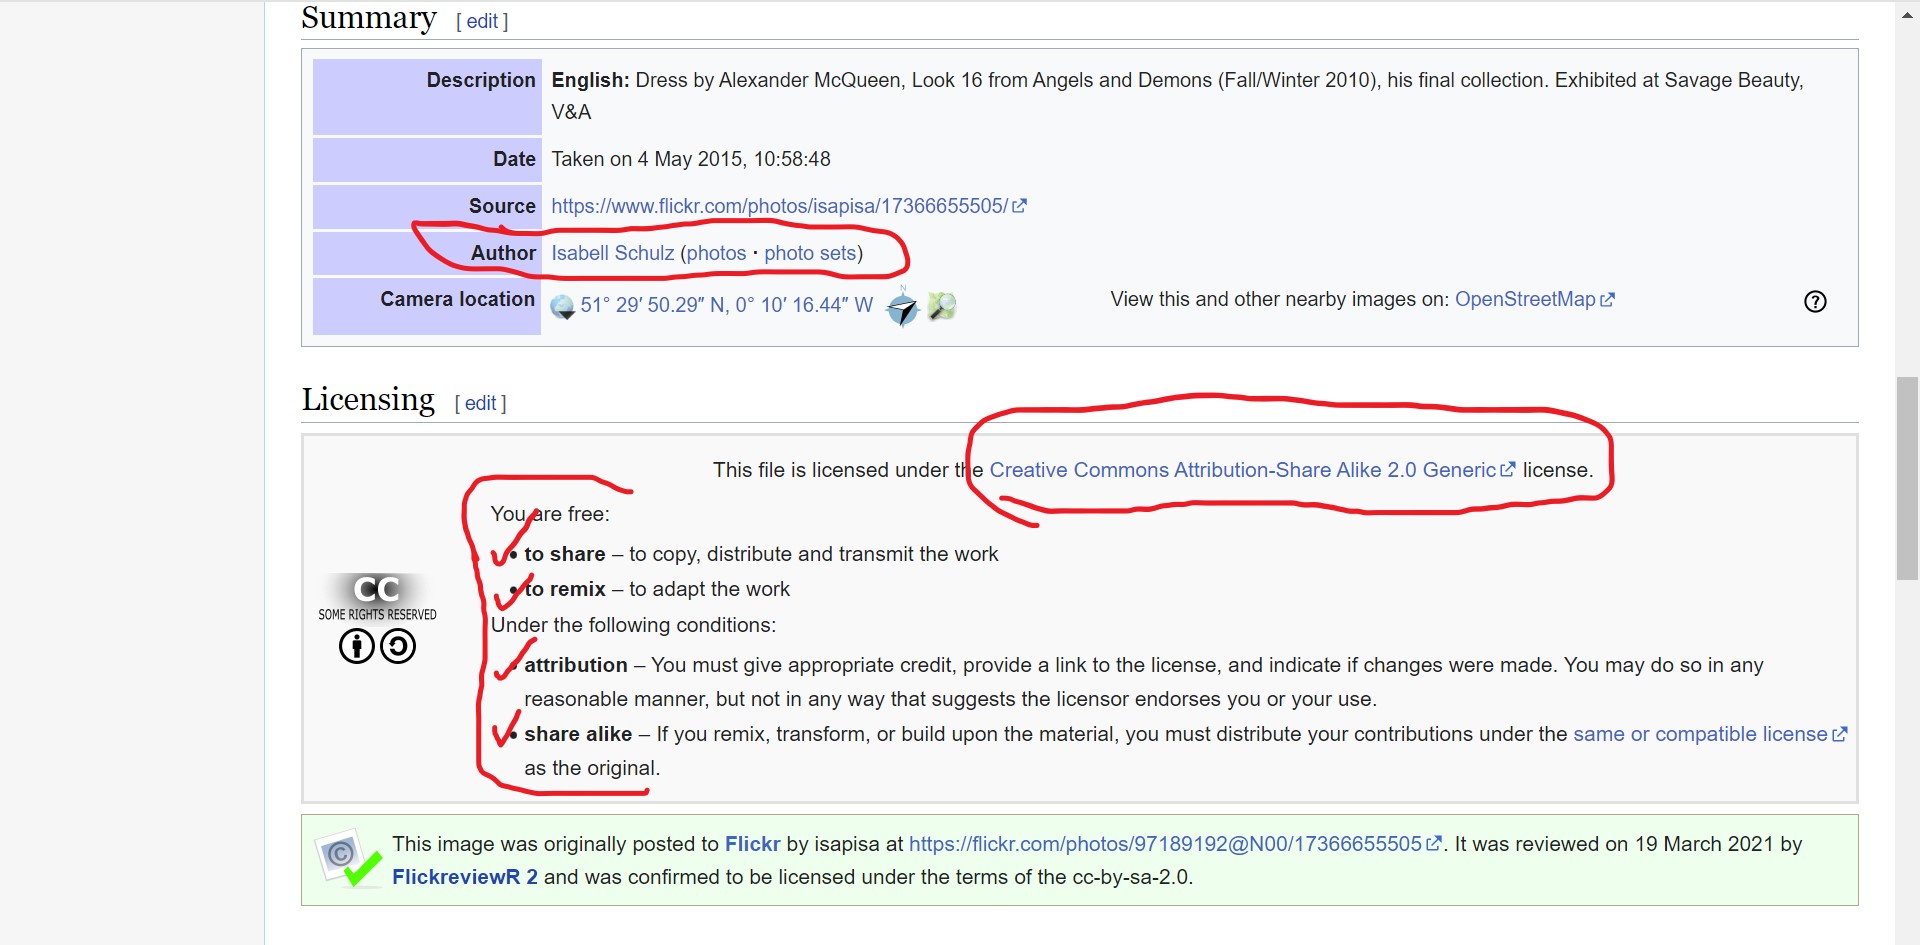
When you click over to the Creative Commons license (circled above), you see that one of the things you’re als0 required to do (besides citing the author and the CC license) is to provide a link to the Creative Commons license itself (not just cite it).
If I’m using my own photos (like all of these screenshots, for example), I don’t usually add captions when inserting images into my blog. But if I were using a stock photo instead of my own image, I’d select “caption” when I inserted the photo, and then paste the CC 2.0 (etc.) sharing attribution info into the blog post.
Like this, for example.
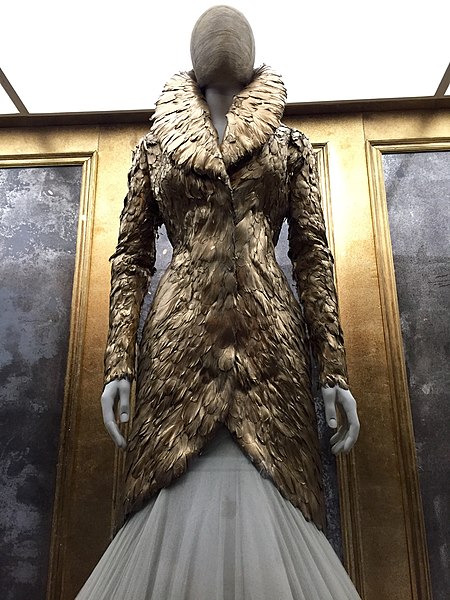
Isabell Schulz (photos · sets), CC BY-SA 2.0 , via Wikimedia Commons
Note the link in the caption, too. I clicked over to the license from the Wikimedia Commons “More details” page, where I noted their “link” requirement. Then I had to manually come back and insert the link to that license in the caption. I think I’m all “legal” now! 🙂
So maybe you knew all this already, but if you didn’t and you want to try using stock photos to illustrate your blog posts, providing the proper attribution is easy if you follow these steps.


This is a nice clear tutorial! My students will be making their PowerPoint presentations soon and I’ll show them this set of steps!
LikeLiked by 1 person
Fabulous! (I love talking shop with fellow teachers😄)
LikeLiked by 1 person
With attribution to you of course 🙂
LikeLiked by 1 person
😂
LikeLiked by 1 person
Very nicely explained. Now I know how to if the need arises.
LikeLiked by 1 person